Angela from Apooki is the lucky winner of the gorgeous printable party range from Style me Gorgeous.
Angela, Sarah is on holidays as present however she will email you your prize on her return.
Thank you again to everyone who entered.


Angela from Apooki is the lucky winner of the gorgeous printable party range from Style me Gorgeous.
Angela, Sarah is on holidays as present however she will email you your prize on her return.
Thank you again to everyone who entered.
As some of you know I've started a styling business and I wanted to share with you some of the products I have available now for purchase.
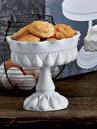
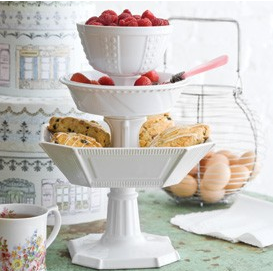
I used these footed bowls here, stacked and filled with macarons to form an elegant tower.

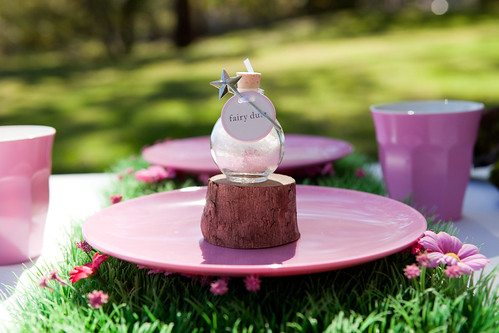
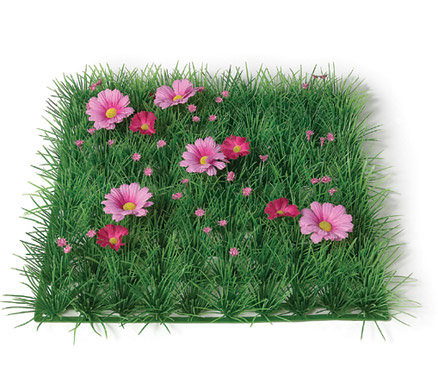
Magical Fairy dust and Grass and flower placemats (used in the Woodlands Party)
Grass and Flower placemats (they can be joined together to make a table runner)
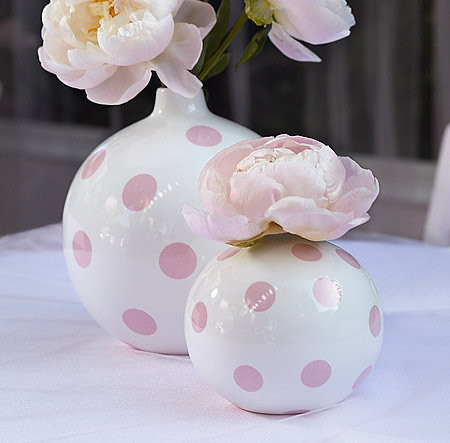
Polka dot vases
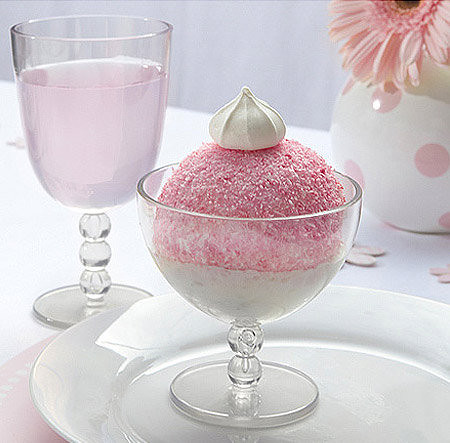
Plastic drink glasses and sundae float cups
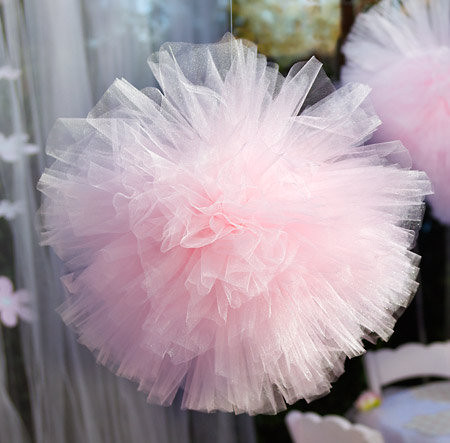
Pink sparkle tulle pom poms
Butterfly balls


Contact me on grumeti76@mac.com if you would like to purchase any of these gorgeous products prior to our website launch.
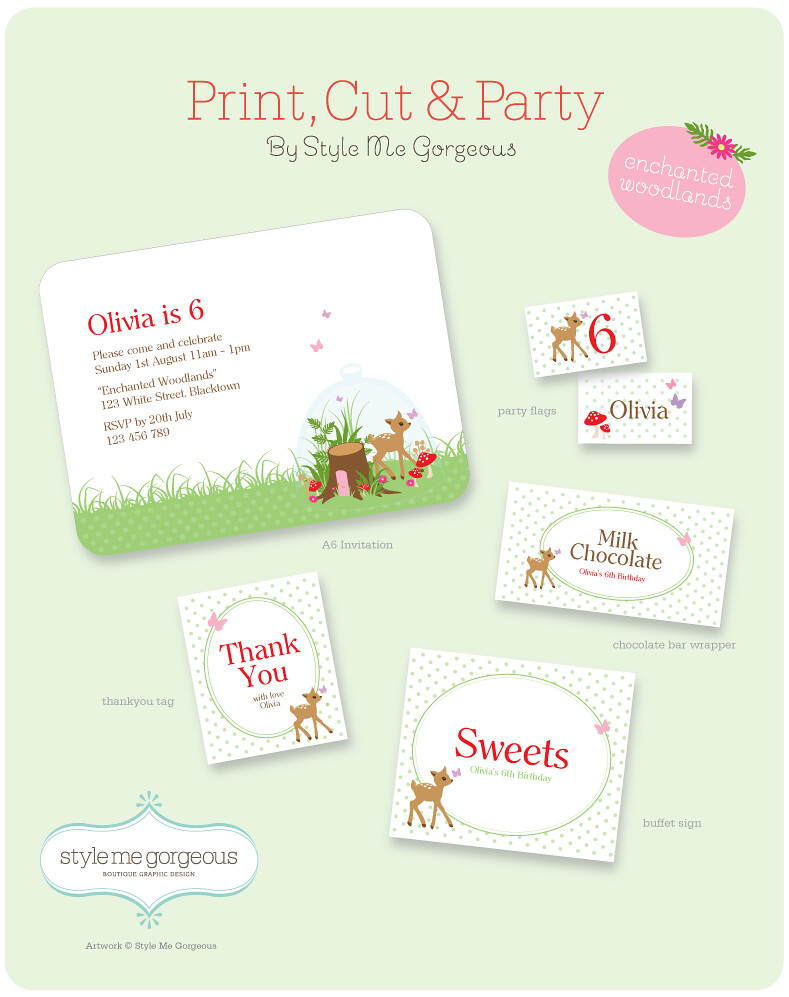
Sarah from Style Me Gorgeous is kindly offering all My Life My Loves readers a chance to win her Enchanted Woodlands Print, Cut & Party set (as shown below).
I hold a soft spot for this particular design and I'm so excited that one of my readers will be able to fall in love with it to.
All you need to do to enter is leave a comment on this post telling me your favourite element of the Enchanted Woodlands party I planned for my daughter's 6th birthday.
Winner will be announced Friday, 27th August at 5pm. Entry is open worldwide.
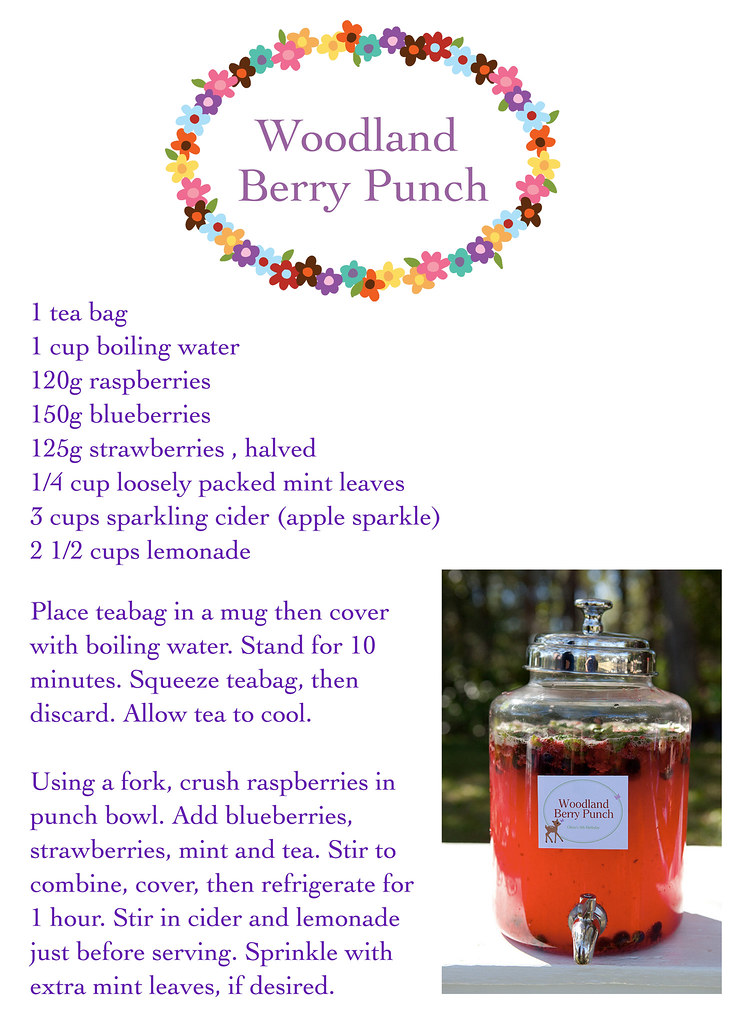
I cannot even start to tell you how delicious and refreshing this punch is. All of Olivia's party guests (including, well actually especially the Mum's) loved it. We all agreed that it would be fabulous with a dash of vodak on a hot summers night!
Would you like to make some of these adorable hedgehog cupcakes yourself?
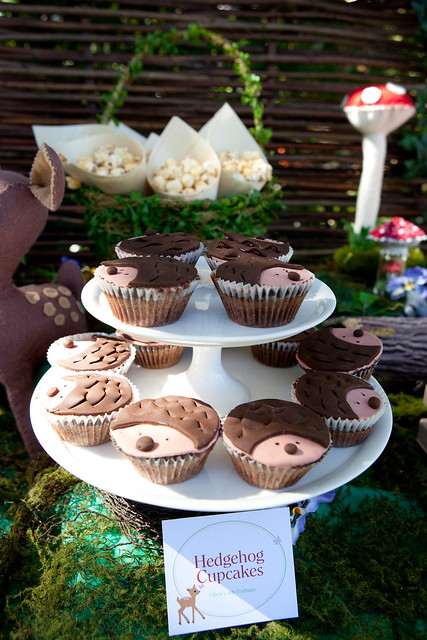
Sharon from Sharon Wee Creations has a great tutorial here.
Photo courtesy of Leanne Stamatellos Photography.
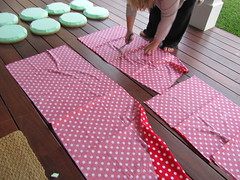
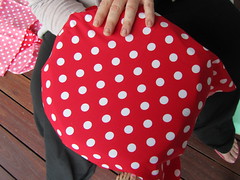
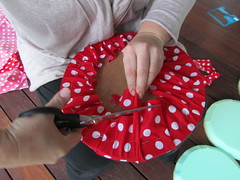
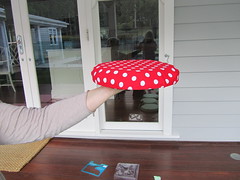
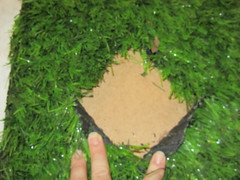
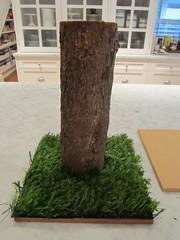
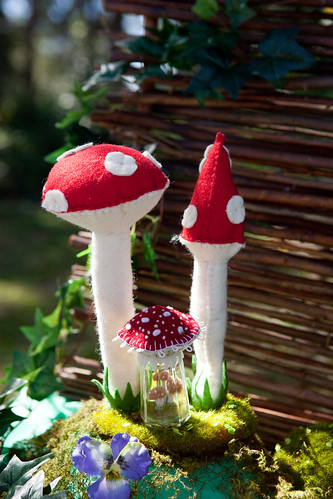
As promised, here is a step by step tutorial on how to make the toadstool seating that featured in the Enchanted Woodlands party I threw for Olivia's 6th birthday.
Liquid nails will be your NBFF by the end of this.
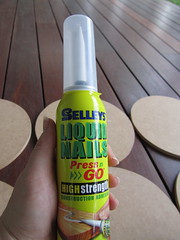
What you will need:


 Claire from Scissors Paper Rock. Congratulations Claire and thank you to everyone for enterting.
Thank you to everyone that took the time to comment on the party I created for my daughters 6th birthday. I loved reading every one of them.
To say thank you I've teamed up with some of my wonderful suppliers for a jammed packed two weeks of fabulous giveaways.
First cab off the rank is a $50 store credit to Fairy Nana Land - faerie wear by Eve Reddin Lennon.
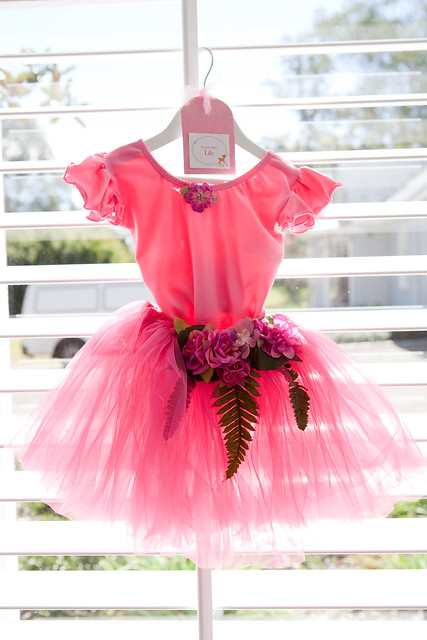
Eve handcrafted the exquisite costumes I used in the Enchanted Woodlands party.
To enter this competition head on over to Eve's etsy store and browse through her range of gorgeous costumes. Come back here and leave a comment on this post telling me which is your favourite costume and why.
Winner will be notified on Monday, 16th August 2010.
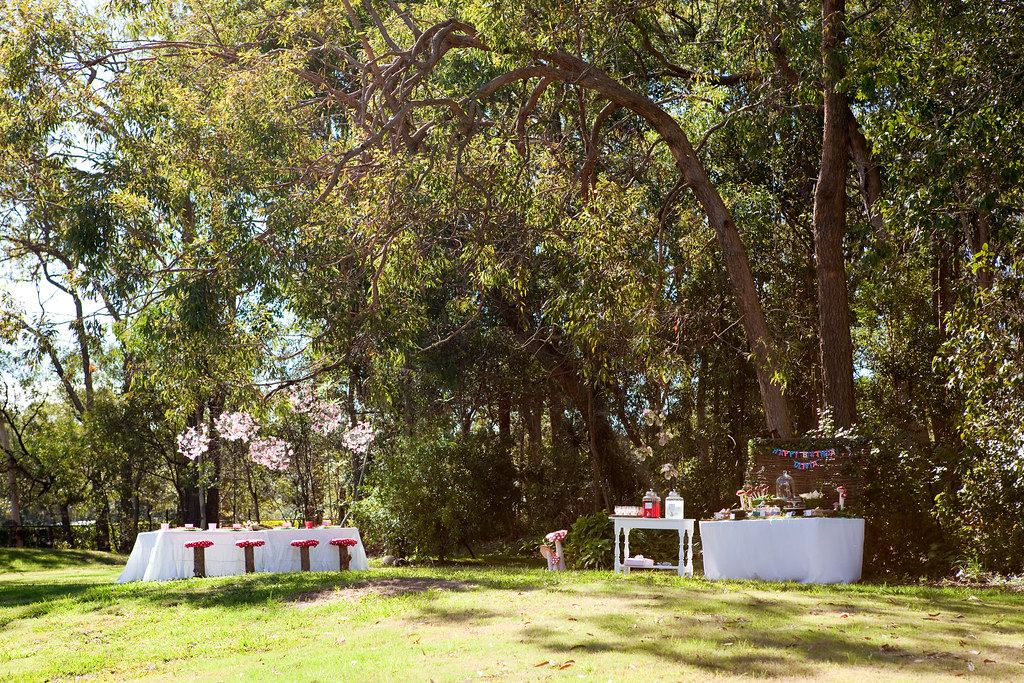
Thought I'd share some more images from the Enchanted Woodlands party.


Enjoy!
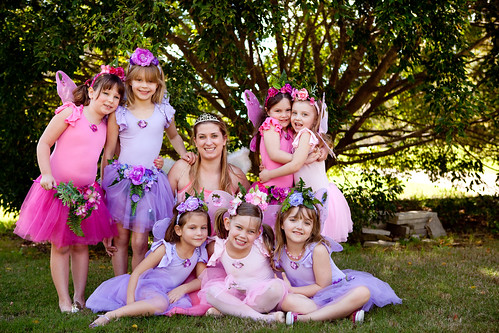
All photos courtesy of Leanne Stamatellos Photography. Styling by Sharnel Dollar.
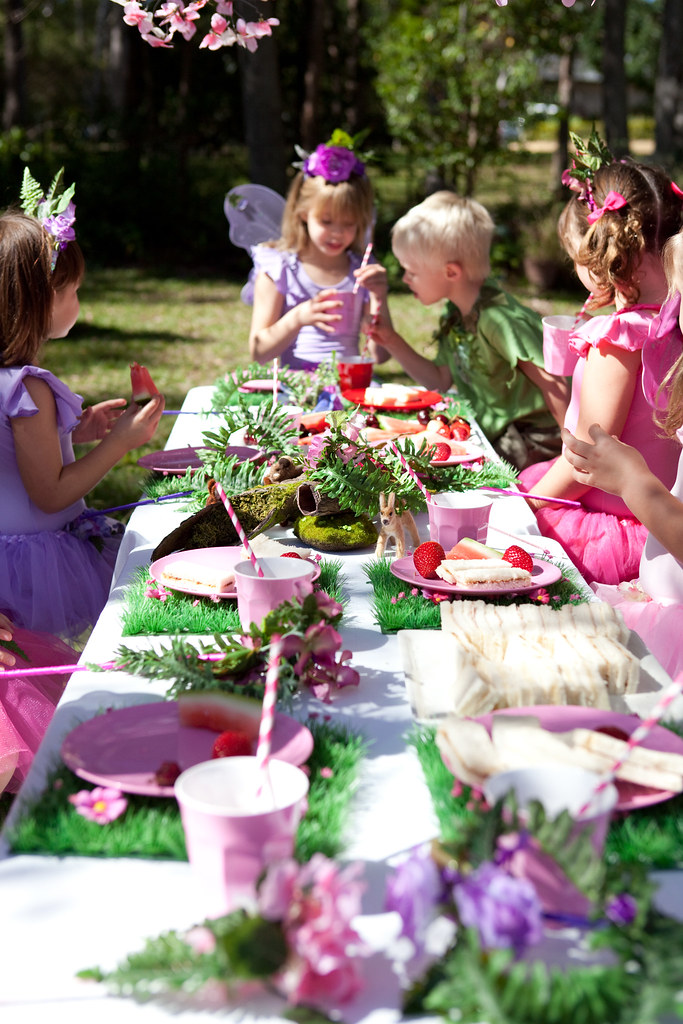
I'm thrilled to be sharing with you the images from Olivia's 6th birthday party. I can't thank Leanne from Leanne Stamatellos Photography enough for the images she has captured. Also to the ever talented Sarah from Style Me Gorgeous for the beautiful invitations and party printables (name tags, food labels etc).
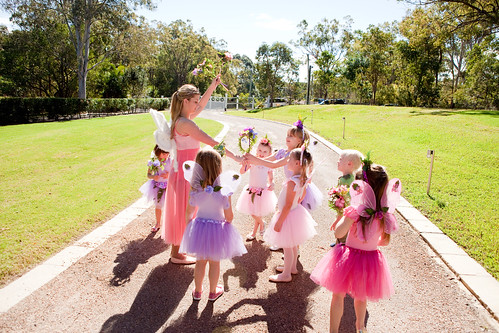
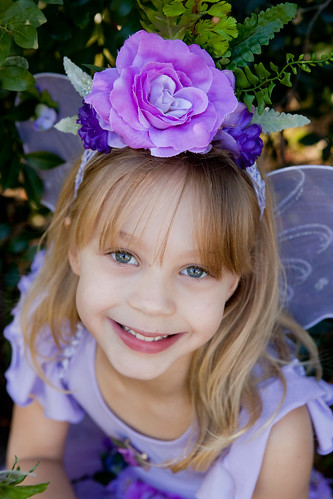
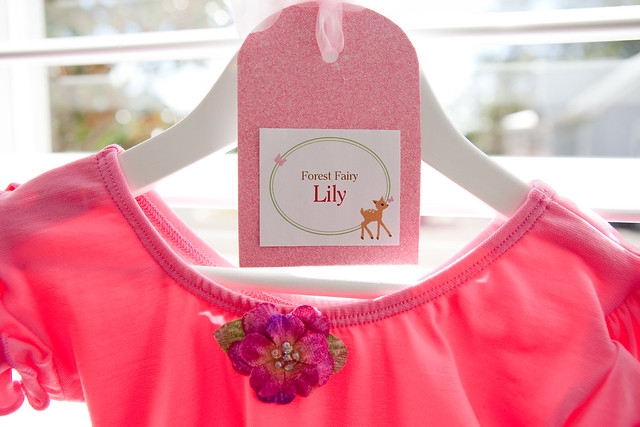
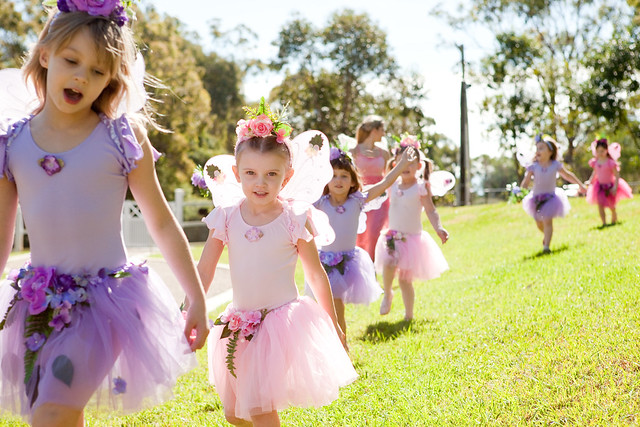
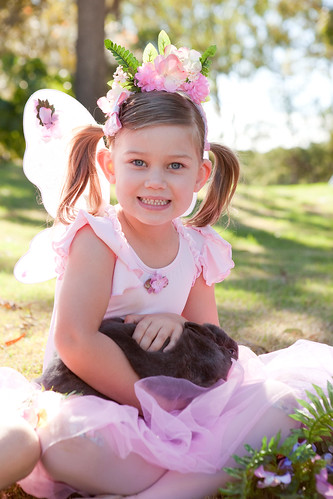
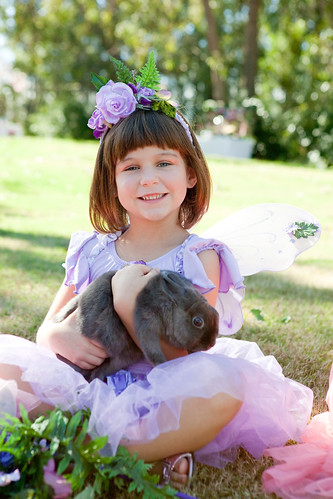
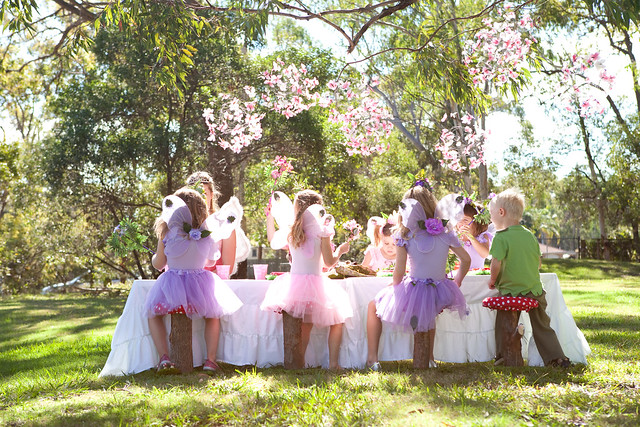
On arrival each party guest was handed her very own woodlands fairy costume to wear and take home. The costume had a leotard, tutu skirt, head piece, wand and wings. This was enough to send some of the guests over the edge. One little one could not believe that she could keep it FOREVER! So gorgeous.
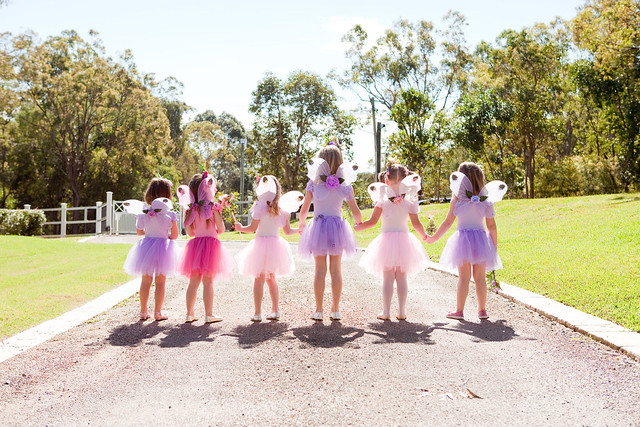
Once everyone was suitable dressed, Tilly the fully grown fairy whisked them away and played endless games. So many squeals of delight could be heard throughout the yard.
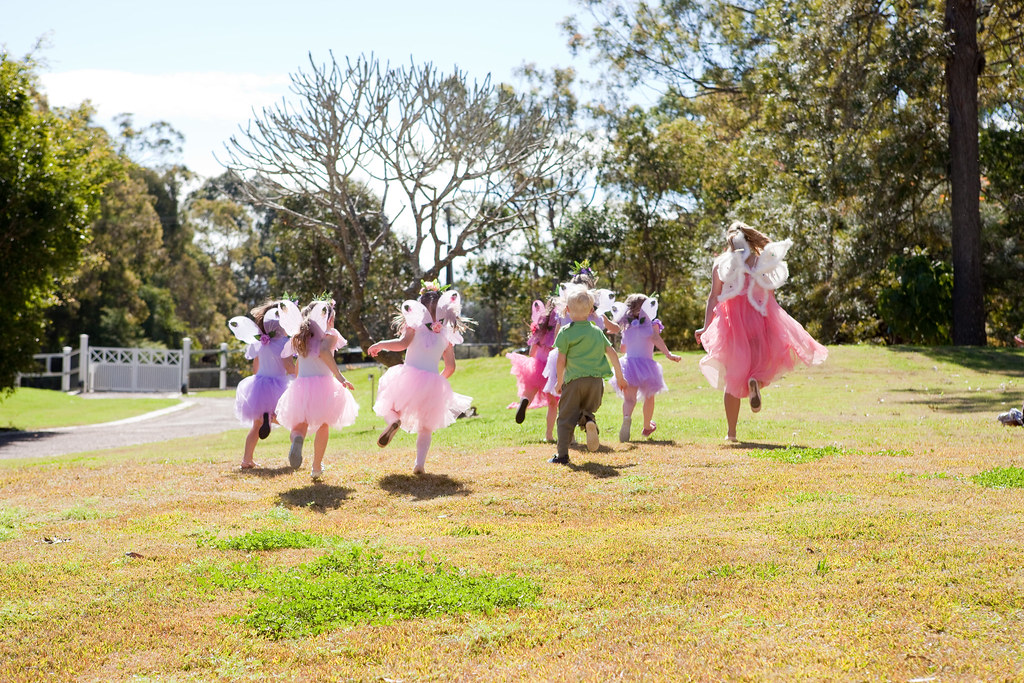
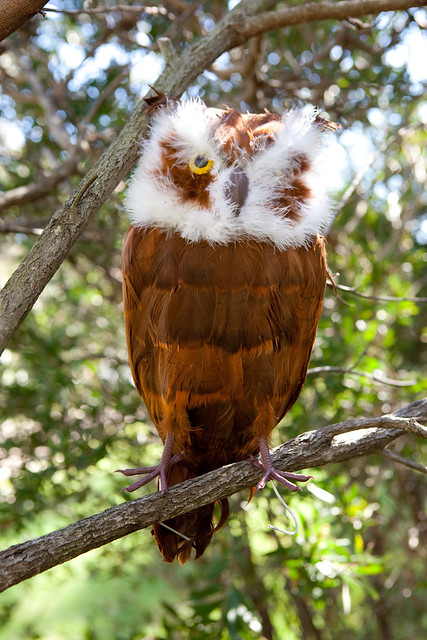
Even when they were out of view .....

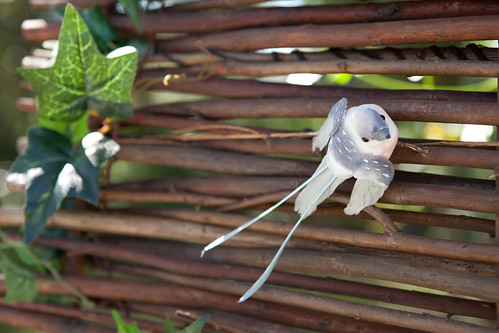
The wise old forest owl was there to keep an eye on them.
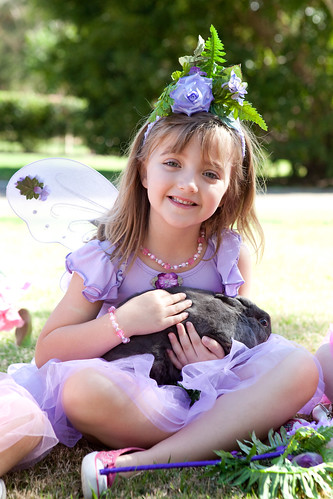
Our delightfully fluffy friend Pepper the Bunny came to visit and everyone had a chance to hold him.
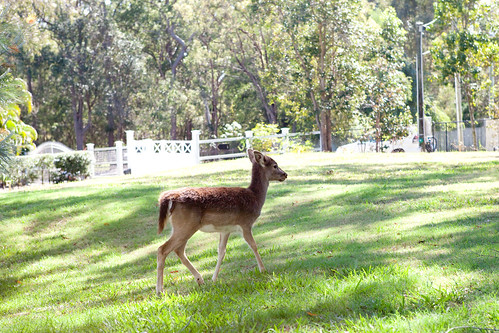
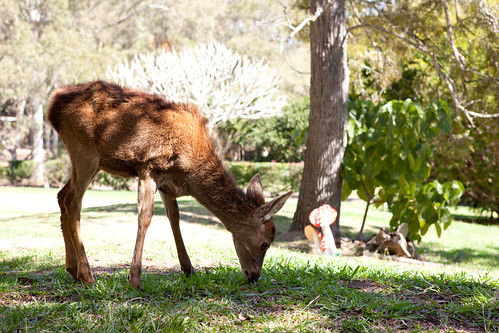
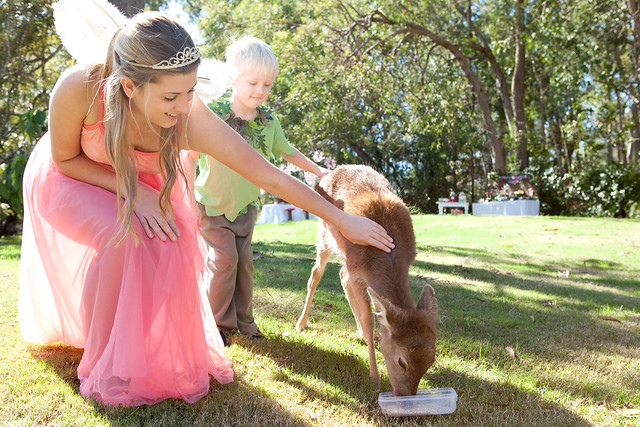
Then Chrissy and Mistletoe introduced themselves to the woodland fairies and prince.


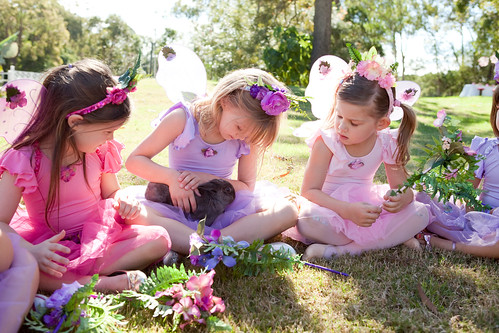
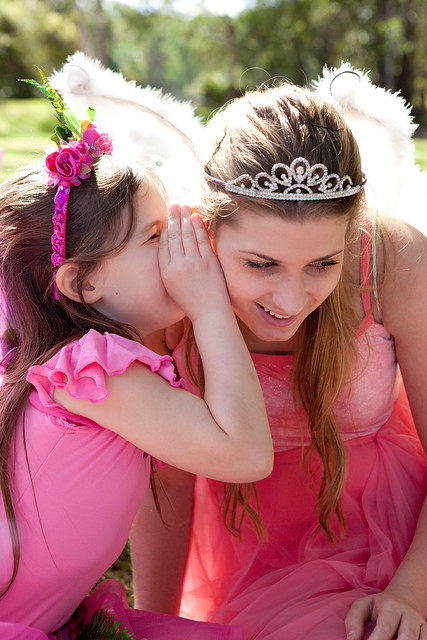
Did you know woodland fairies tell the best secrets? They whisper so sweetly in your ear.

After all of that they needed a little rest.
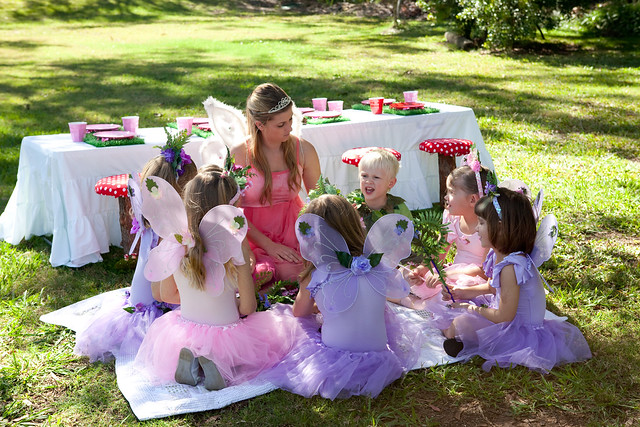
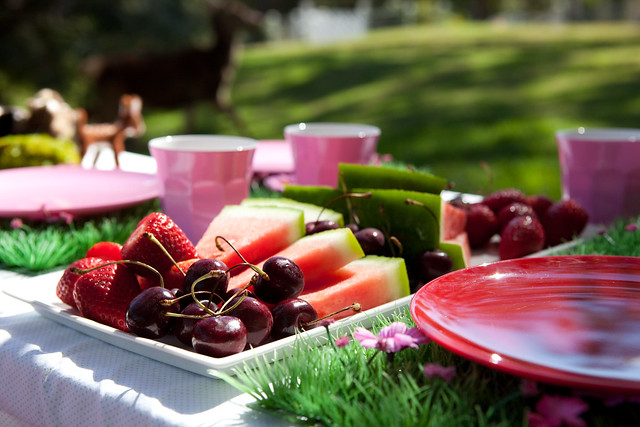
And something to eat and drink.
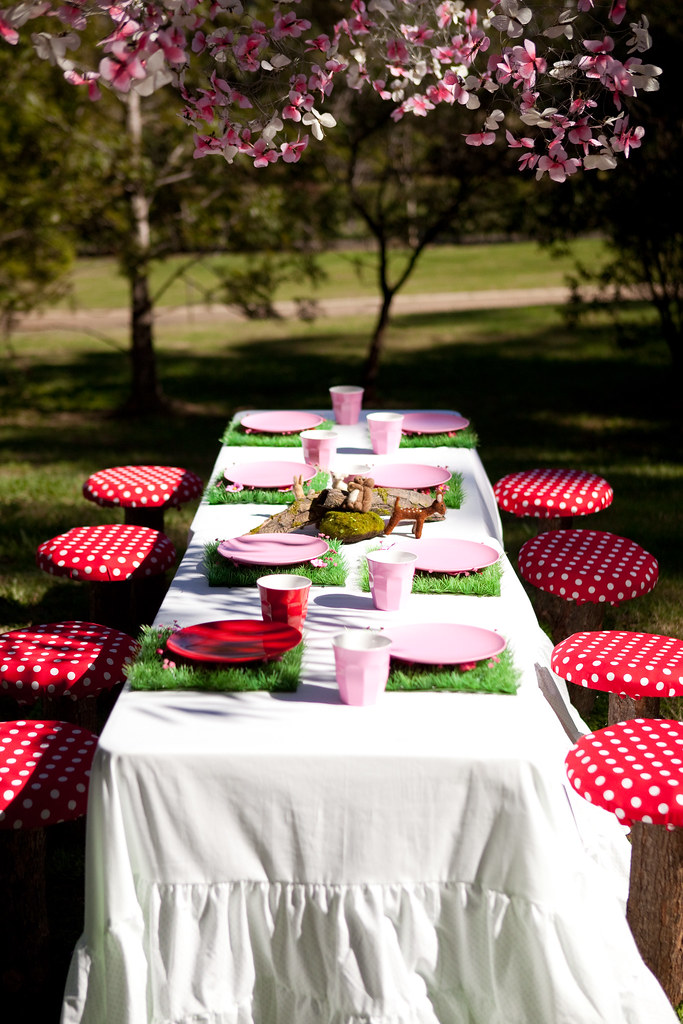
Flower placemats, ruffle tablecloths and toadstools will be available from Sharnel Dollar Designs.

Fairy dust, butterfly balls will be available to purchase and hire from Sharnel Dollar Designs.
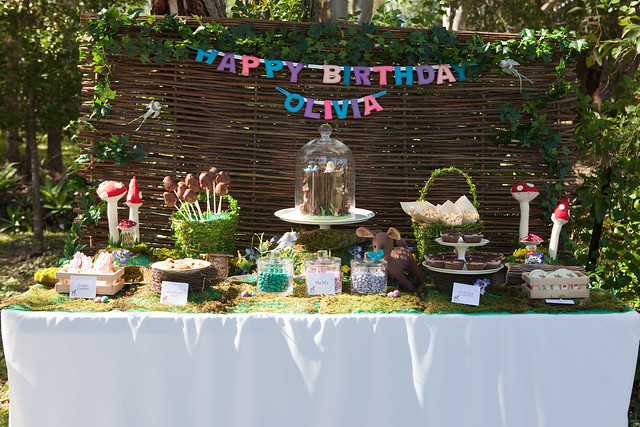
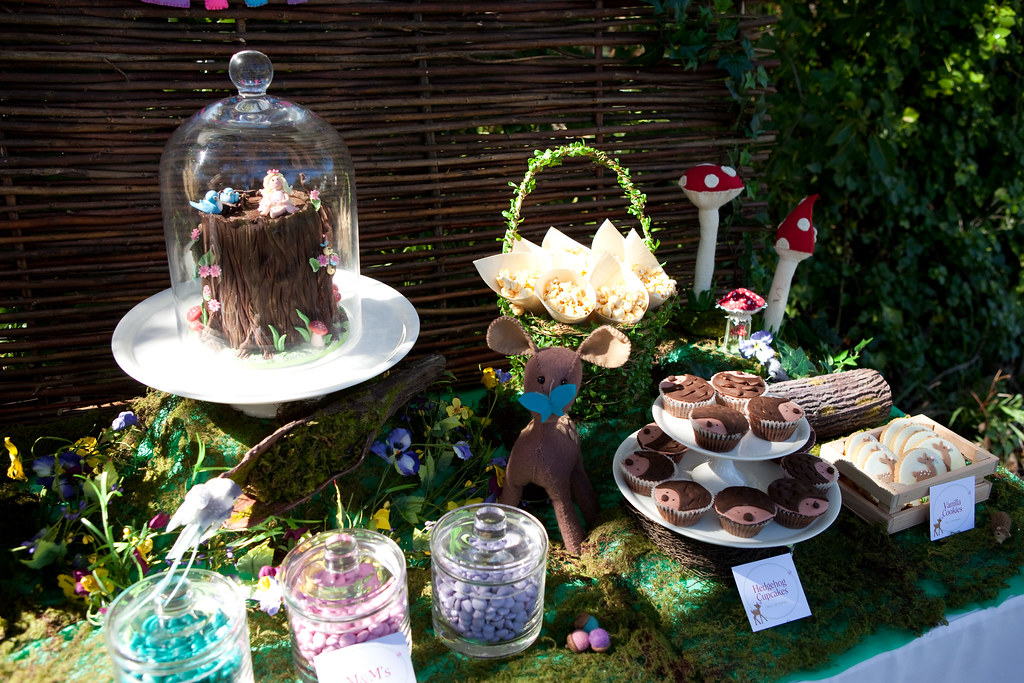
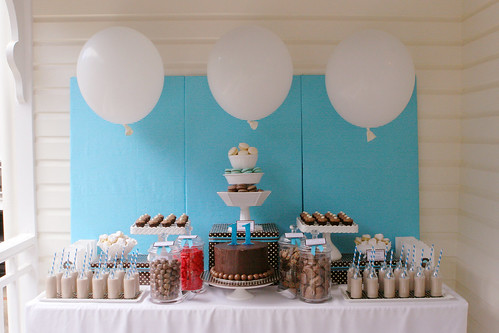
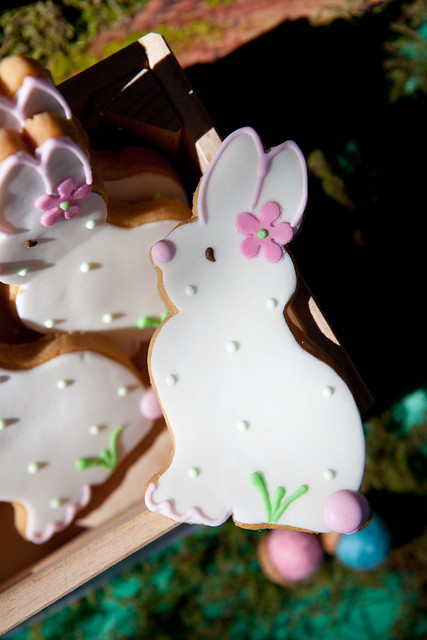
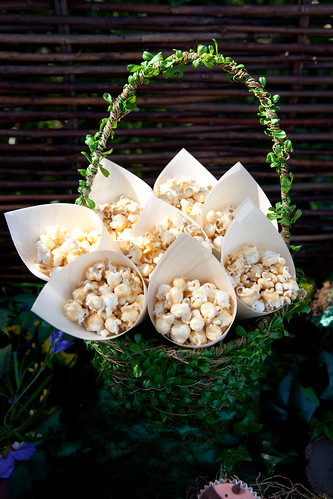
We served chocolate dipped strawberries, two types of hand decorated cookies, mm's, caramel popcorn, dutch shortbread and hedgehog cupcakes as part of the dessert table.


The darling cake was made by Jen at A Little Slice of Heaven.
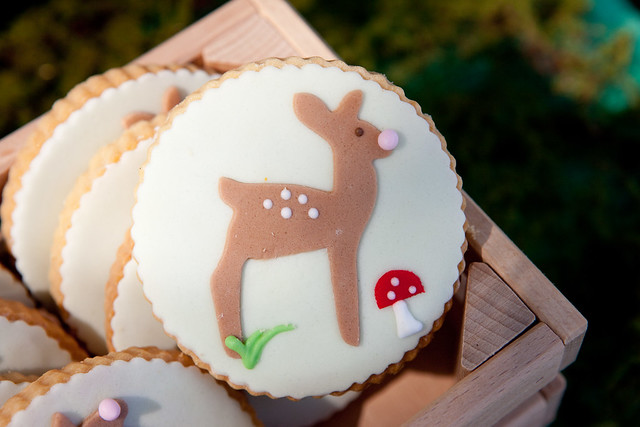
Gorgeous cookies by Polka Cookies.


Cupcakes by me.

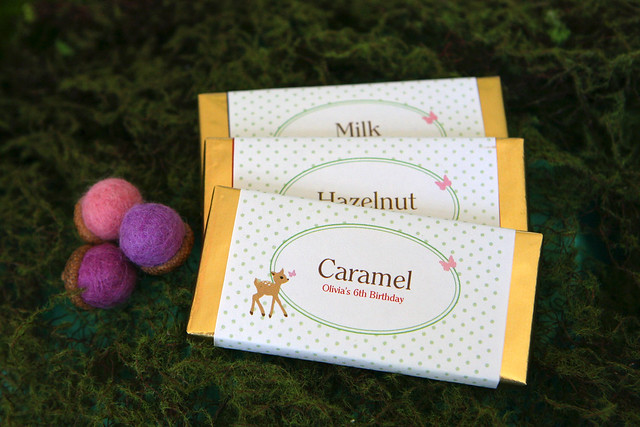
Chocolate bar wrappers by Style Me Gorgeous. Thank you Sarah.

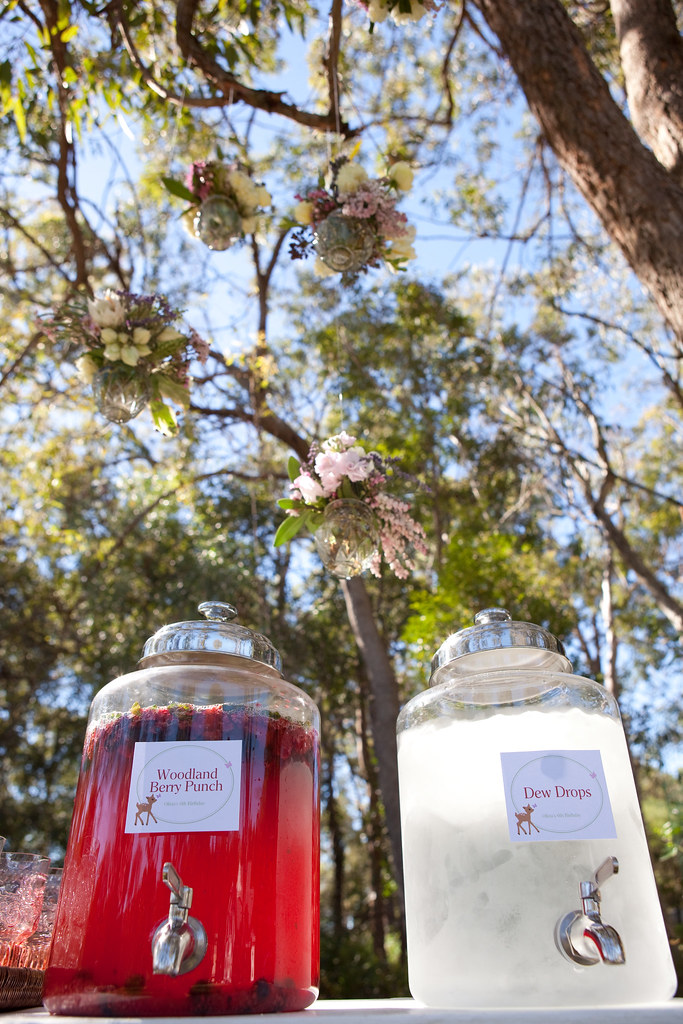
Woodland Berry punch recipe to follow. Dew Drops (good old H2o)
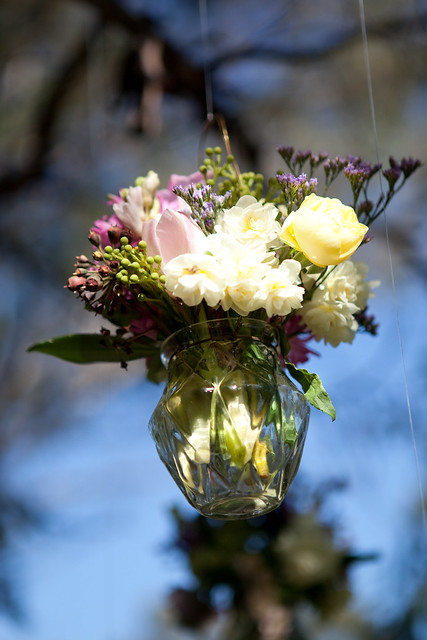
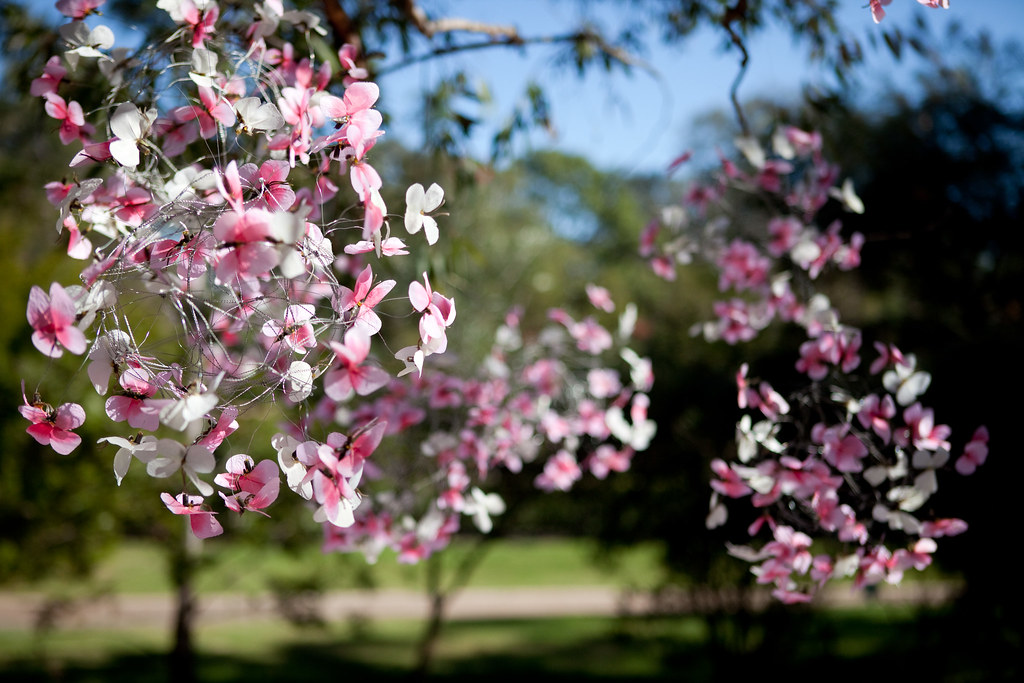
Hanging posies by Phoebe Stephens. Votives my own.
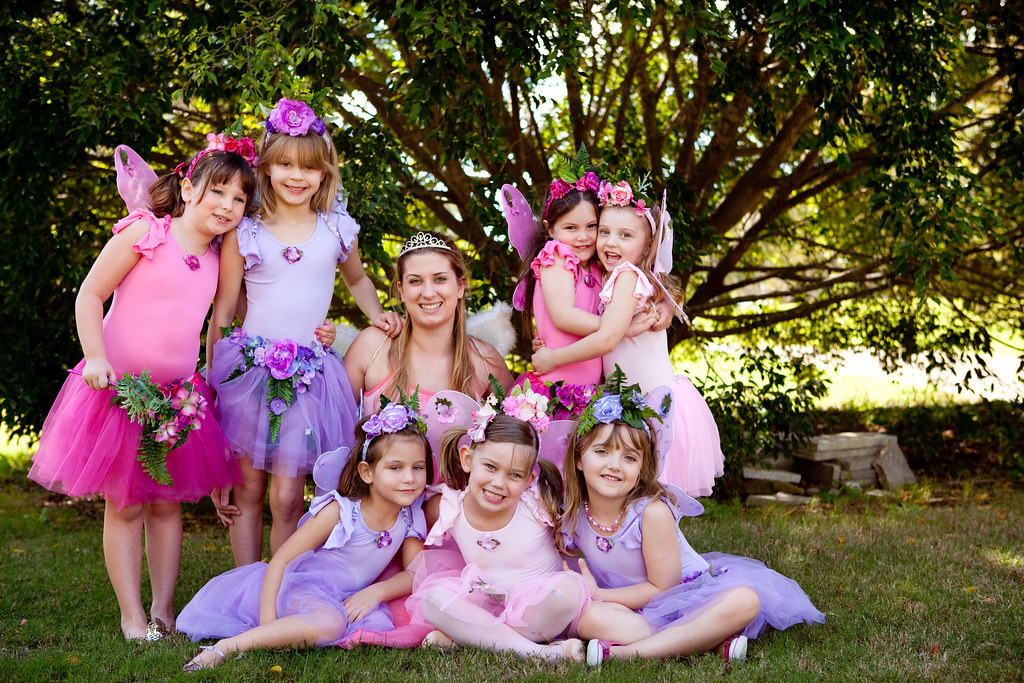
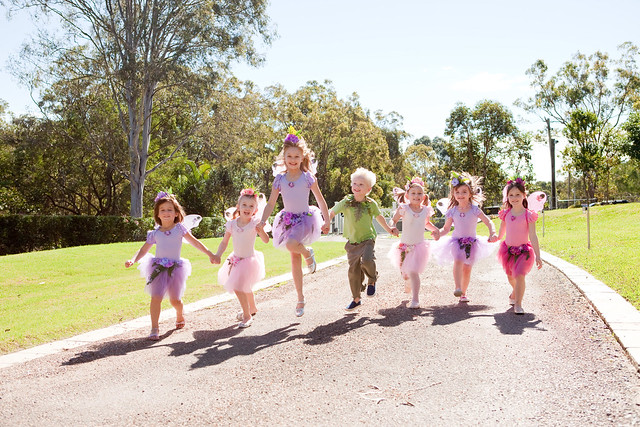
My daughter, Tilly and her adorable friends. Each one of them made the day so magical.
Did you enjoy your walk through Olivia's enchanted woodland?
I'll be back over the coming weeks with more photos, links, recipes and great giveaways too.